
SOAP (Simple Object Access Protocol) can be used to import data (actual values) from Web Services that have been published by companies or organizations that want to provide useful information. A Web service can be an internally or externally provided service.
In the example below, we will be using an ‘open’ web service provided by Spider Strategies for demonstration purposes. The service publishes monthly Social Media information for a fictitious company including:
- Number of Facebook Views
- Number of Twitter Mentions
- Number of Article Mentions
- Number of Google Searches
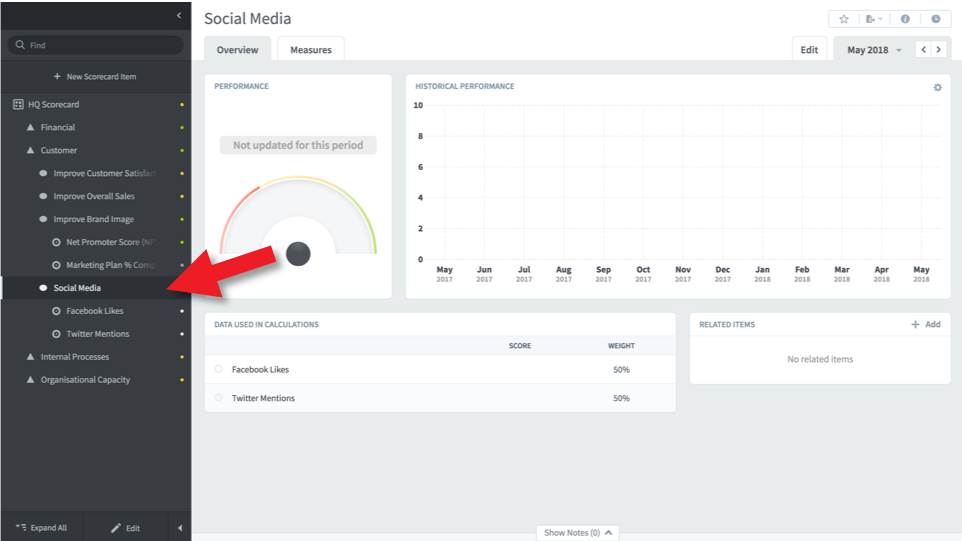
First, create the Measures in a scorecard, in the example below we have created two measures under Social Media.
Next, open the ‘Connect’ application in a new browser window. Connect is the free integration module that comes with the product. To reach it type in your usual URL up to and including .com and add ‘/connect’. It should look something like this:
*https://intrafocus-v3-trial.qs.spiderstrategies.com/connect *
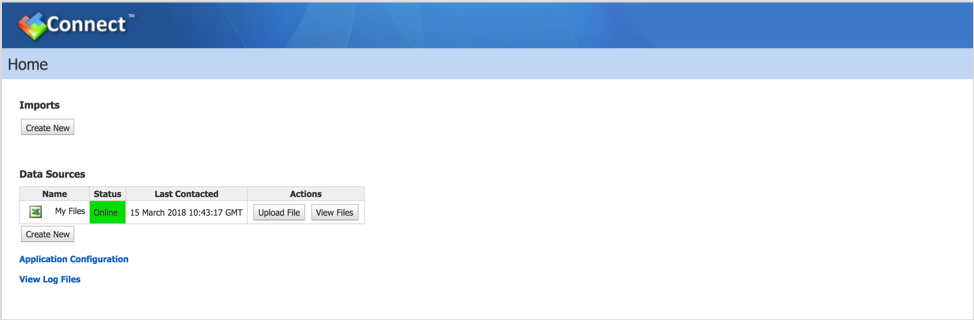
Sign into Connect using your usual Username and Password, you will see a screen like this:
The SOAP service we will use as an example has the following parameters:
SOAP URL: https://datasource.spiderstrategies.com/socialSentiment
WSDL URL: https://datasource.spiderstrategies.com/socialSentiment.wsdl
SOAP Request:
Data Element XPath: //socialSentimentItem
Metric ID/Name XPath: //itemType
Value XPath: //value
Date XPath: //date
Create the Data Source
The data source needs to be defined. Click on the Create New button under the Data Sources heading.

Select SOAP Web Service from the drop-down list of data sources and click Next.
Add a description, the SOAP url and the WSDL url as shown below and click OK.


Map the Data from the Source
The data source has now been linked to the application.
Next a Web service call has to be made to retrieve the data and the data mapped to the Measures previously created.
Click on Create New under Imports.

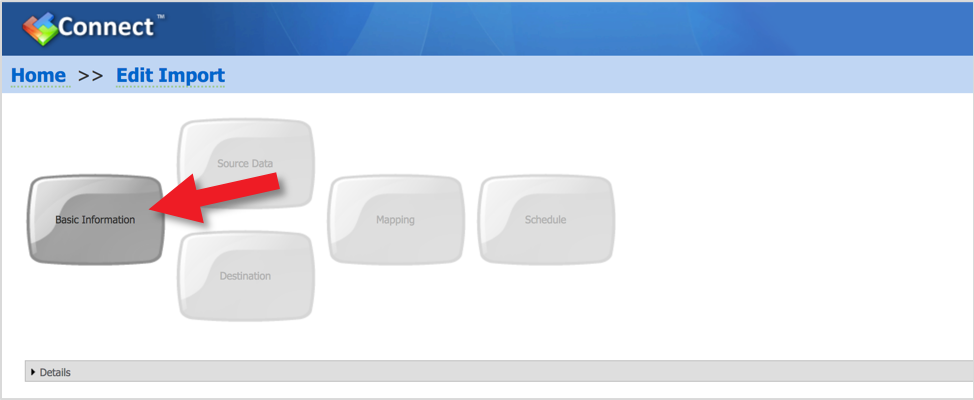
The Edit Import screen will appear.
There are five steps required to import and map the data. This is a one-off activity. Once the data is mapped and and an update scheduled, the update will automatically take place based on the schedule set.
Click on Basic Information.
Give the update a name, in this case Social Media Update and from the Data Source drop-down select the data source you have just created, in this case SOAP Social Media:
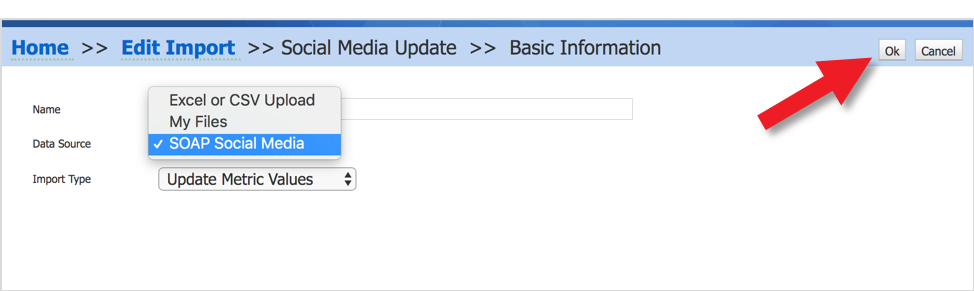
Click on OK on the top right-hand side of the screen.
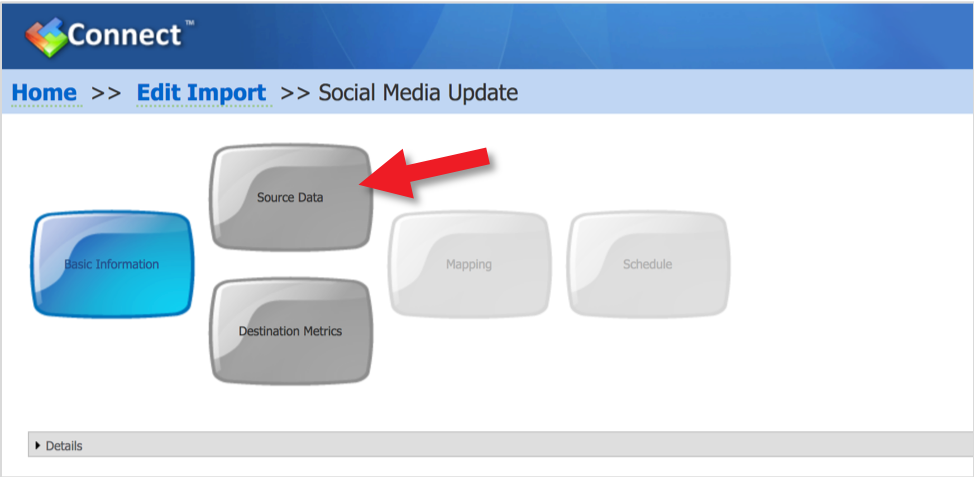
The following screen will appear indicating that the ‘Basic Information’ step is complete.
Click on the Source Data button.
The SOAP request form will appear. Add the SOAP url again into the field SOAP Action HTTP Header.
Add the SOAP request: into the SOAP Body section as shown below.

Click on the grey bar called SOAP Response. A SOAP call will be made and the response will appear. This response needs to be filtered to obtain the correct data.
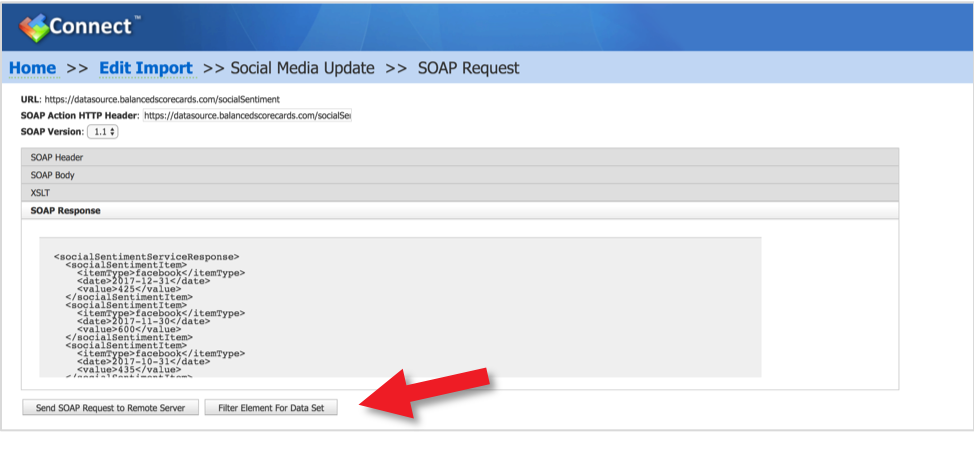
Click the Filter Element For Dataset button.
Add //socialSentimentItem to the Data Element XPath field.
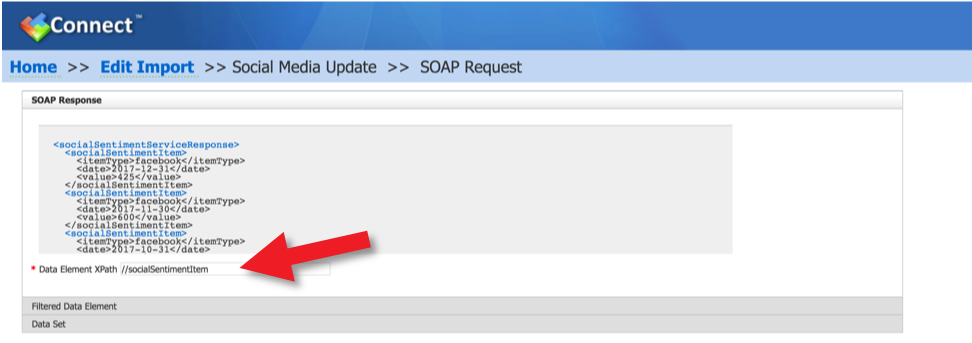
And click on the grey bar called Filtered Data Element. Add the following:
//itemType – to the ID box
//value – to the Value box
//date – to the Date box
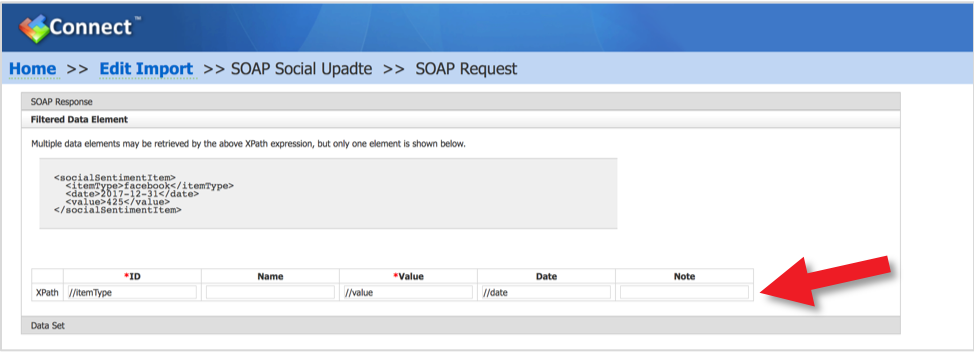
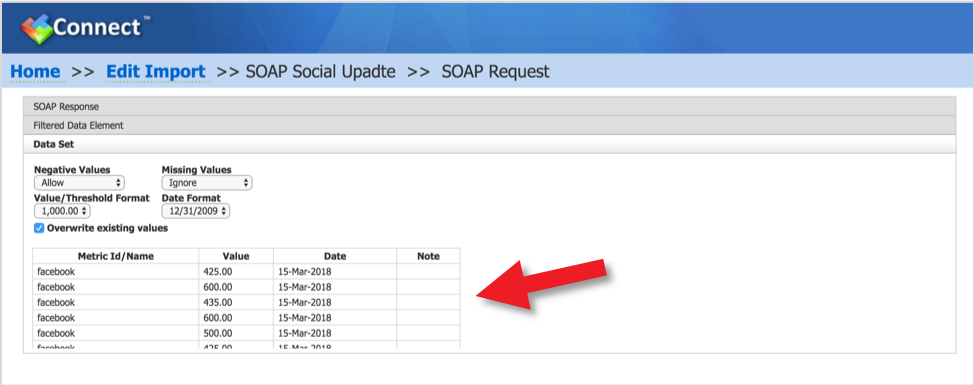
And click on the grey bar called Data Set.
The filtered data set will be returned ready to be mapped to the previously defined scorecard items.
Click on OK on the top right-hand side of the screen.
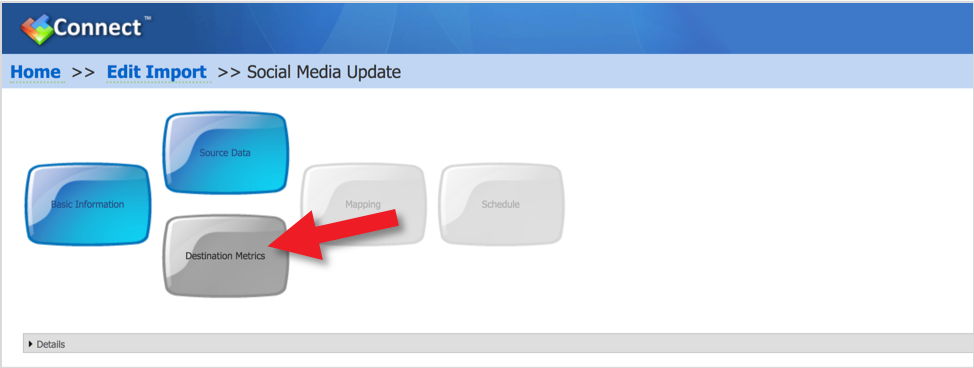
The following screen will appear indicating that the ‘Source Data’ step is complete.
Click on the Destination Metrics button.
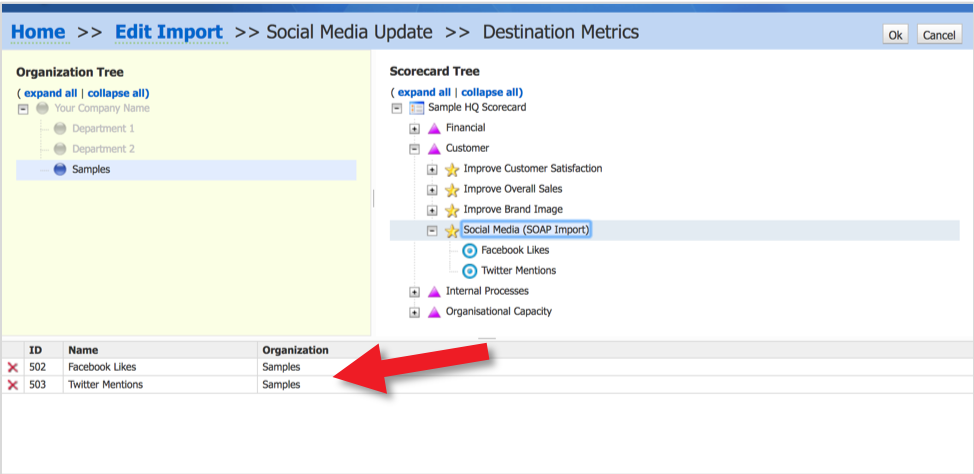
The Destination Metrics screen will appear, find the target Measures and click on them, in this case Facebook Likes and Twitter Mentions. The Measures will appear in the lower portion of the screen indicating they have been selected.
Click on OK on the top right-hand side of the screen.
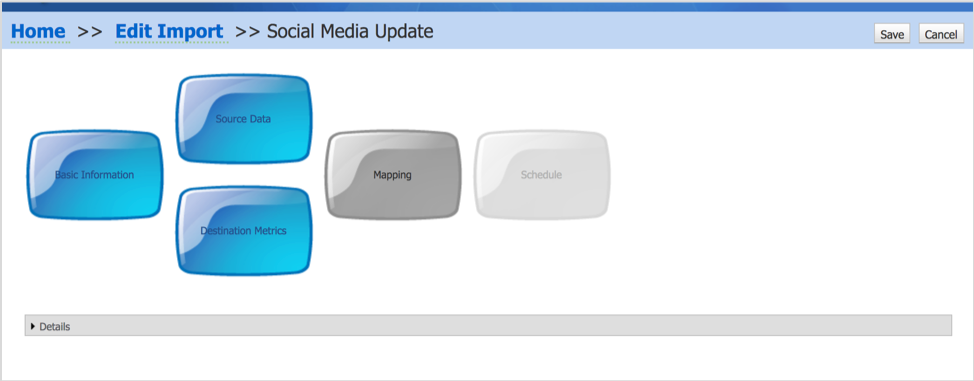
The following screen will appear indicating that the ‘Destination Metrics’ step is complete.
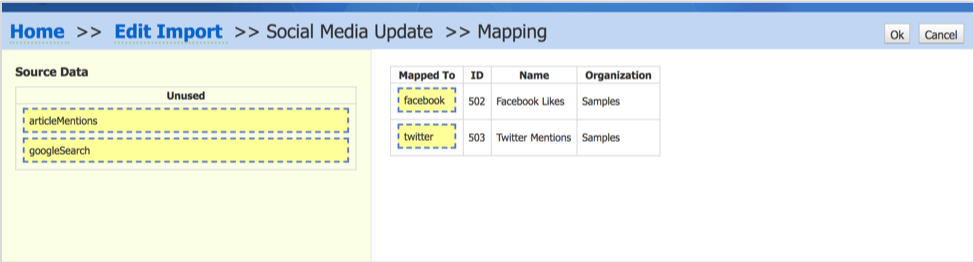
Click on the Mapping button.
The Mapping screen will appear. Connect will map the fields automatically when the source and destination fields have the same or very similar names. If this does not happen, drag and drop the fields to map them yourself.
Click on OK on the top right hand side of the screen.
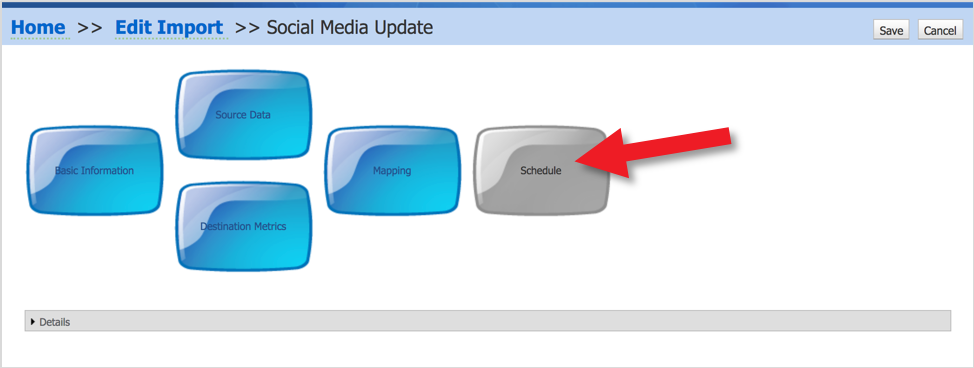
The following screen will appear indicating that the ‘Mapping’ step is complete.
Click on the Schedule button.
The Schedule Import screen will appear. Use the drop-down menus to select the schedule you require. In this case we have selected every month on the first day of the month.
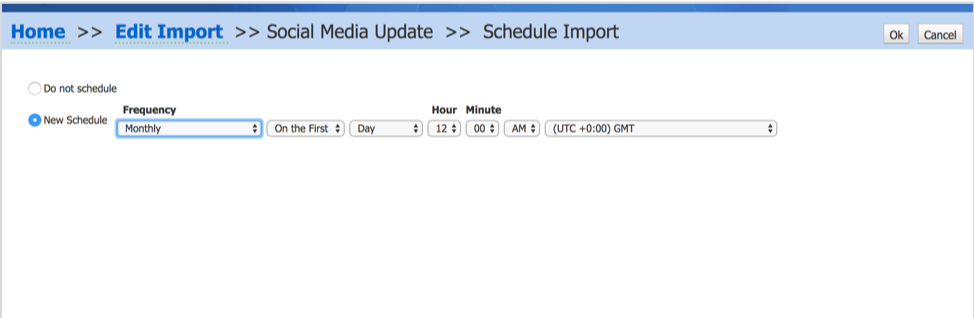
Click on OK on the top right-hand side of the screen.
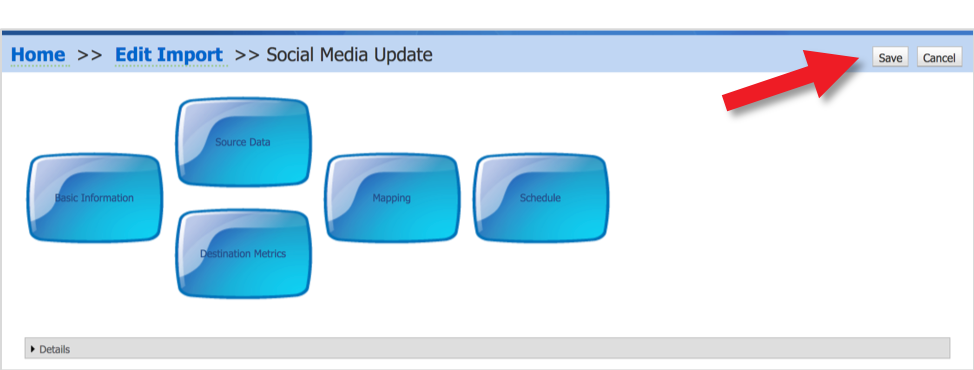
The following screen will appear indicating that the ‘Scheduling’ step is complete.
Click on the Save button on the top right-hand side of the screen.
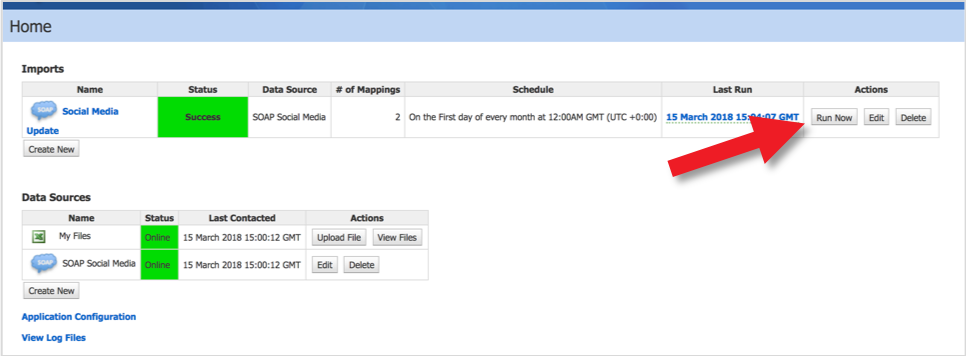
The Home screen will appear. To run the import manually, click on the Run Now button. If successful, the Status will show green (if the import fails, the status will show amber or red, click on the box for more information).
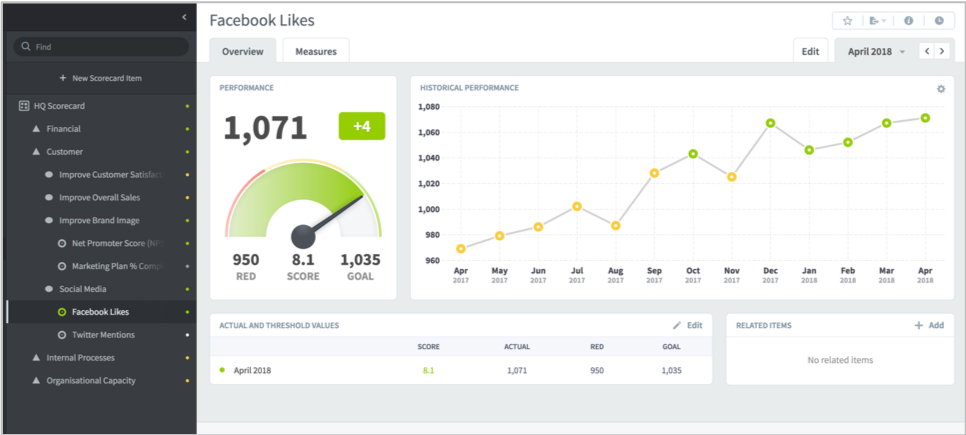
Switch back from Connect to the application and go to the measures, you will see that they have been updated.
gs.